Looking at the theme of light I started to brain storm ideas that could have a “smart” potential, that would have use to me. The materials given to us to use felt really limiting at the start and I found It hard to widen my ideas beyond a sheet of paper, I wanted to consider the forms in 3D.
Talking to Ingrid initially helped me to visualise my ideas into working maquettes and talking through my ideas with other makers was helpful to identify ways of making the lights smart, the reason for doing so and how/ if the design links to the smart use.
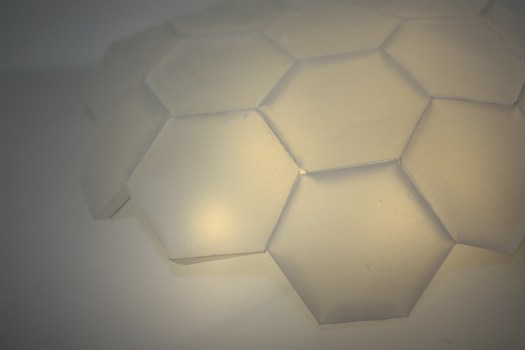
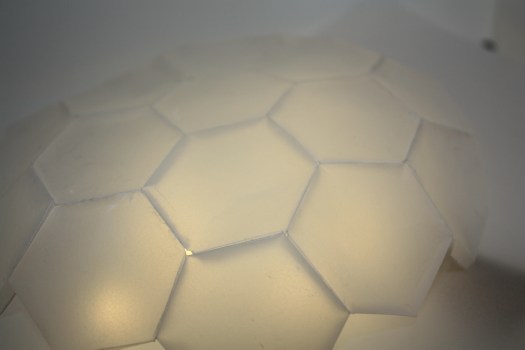
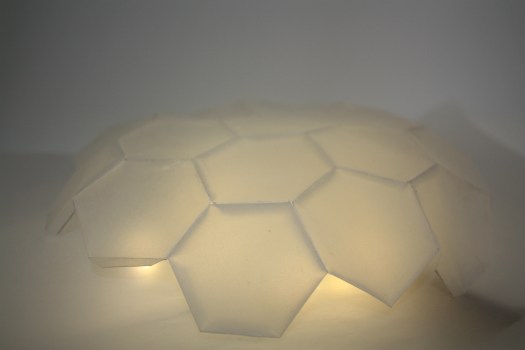
I found my ideas initially tended to sway away from linking the design and the smart ideas together as I was more interested in the aesthetics created by the light. Because of previous research I found the most interesting thing about light was the surface and pattern created through the use of light, material and shape, due to the limitations of the material: tracing paper, I found it challenging to explore a range of ideas. I was most interested in the way I could use shape and layering to adapt the tone, shapes and shadows coming from the light.


Exploring light as a noun adjective and verb gives me freedom in order to create a light that isn’t only decorative but also functional.
noun
the natural agent that stimulates sight and makes things visible.
synonyms: illumination, brightness, luminescence, luminosity, shining, gleaming, gleam, brilliance, radiance, lustre, glowing, glow, blaze, glare, dazzle; More
verb
provide with light or lighting; illuminate.
“the room was lit by a number of small lamps”
adjective
having a considerable or sufficient amount of natural light; not dark.
“the bedrooms are light and airy”
synonyms: bright, full of light, well lit, well lighted, well illuminated, sunny, sunshiny, undimmed, brilliant
“a cool and light breakfast room adjoins the bar”
Googledictionary.freecollocation.com. (2019). Google Dictionary Online. [online] Available at: http://googledictionary.freecollocation.com/ [Accessed 5 Feb. 2019].
Considering all three noun, verb and adjective I am most drawn to the ideas involving all of them as a collective as they all work hand in hand in explaining and using the idea of light as a functional and decorative form.

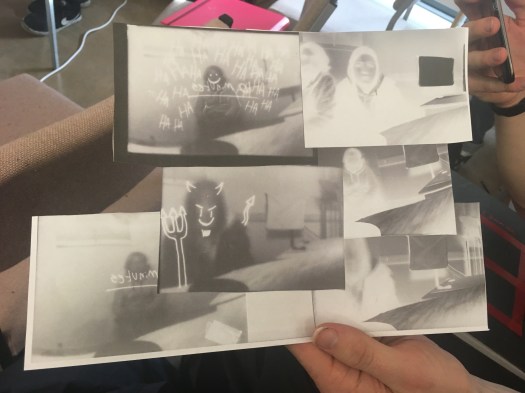
 For the aggressive room we found colours associated with aggression where black and red, we went with this and wanted to incorporate red light into the design this is so that the room would become an intense red colour so that if you were in this room you would feel aggression, we did this by creating a canopy that sits over the box that we used with red film and when the light comes through, intense strobes of red enter the room. We also wanted scratchy corrugated textures to be incorporated into the design, this is because we felt scratches where an aggressive texture. This we intensified using Photoshop to manipulate the contrast.
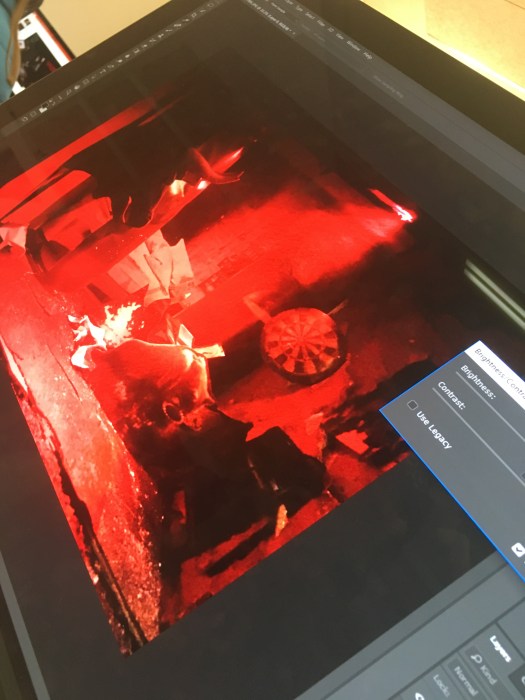
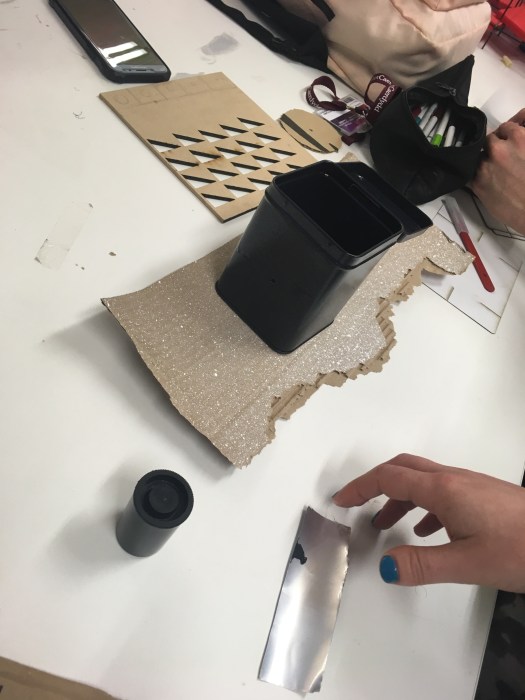


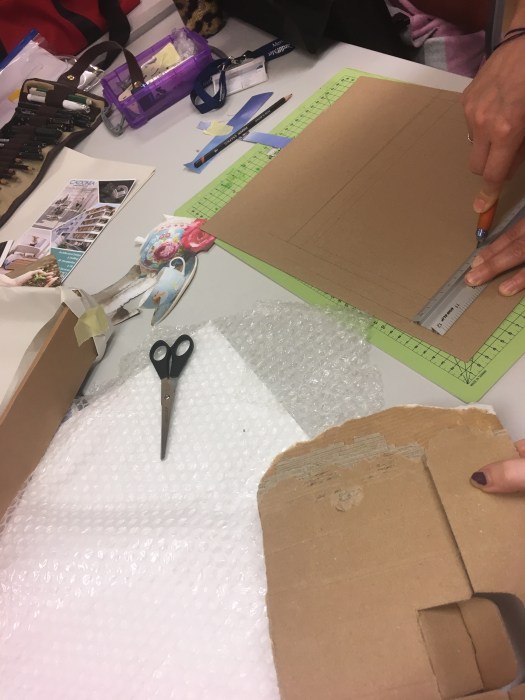
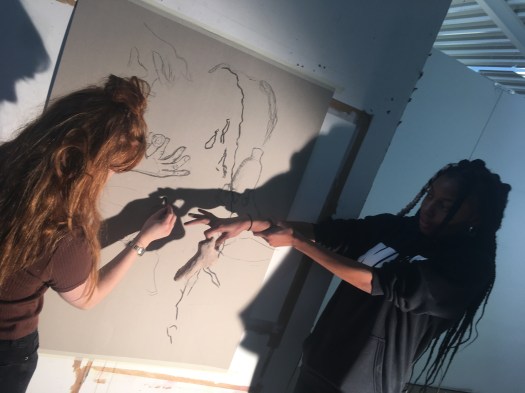 We where told our next task was to translate these drawings and sketches as a group into sculptural forms using the slab building method.
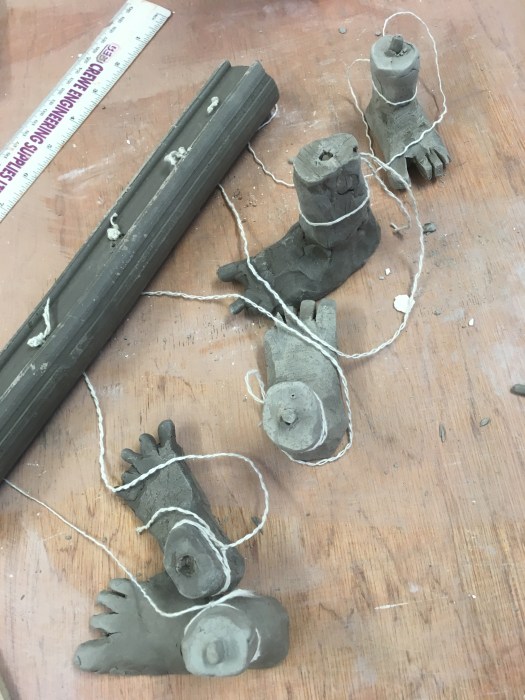

 Having a crit helped me identify ways of adapting my design to consider other potentials to create a more effective product.
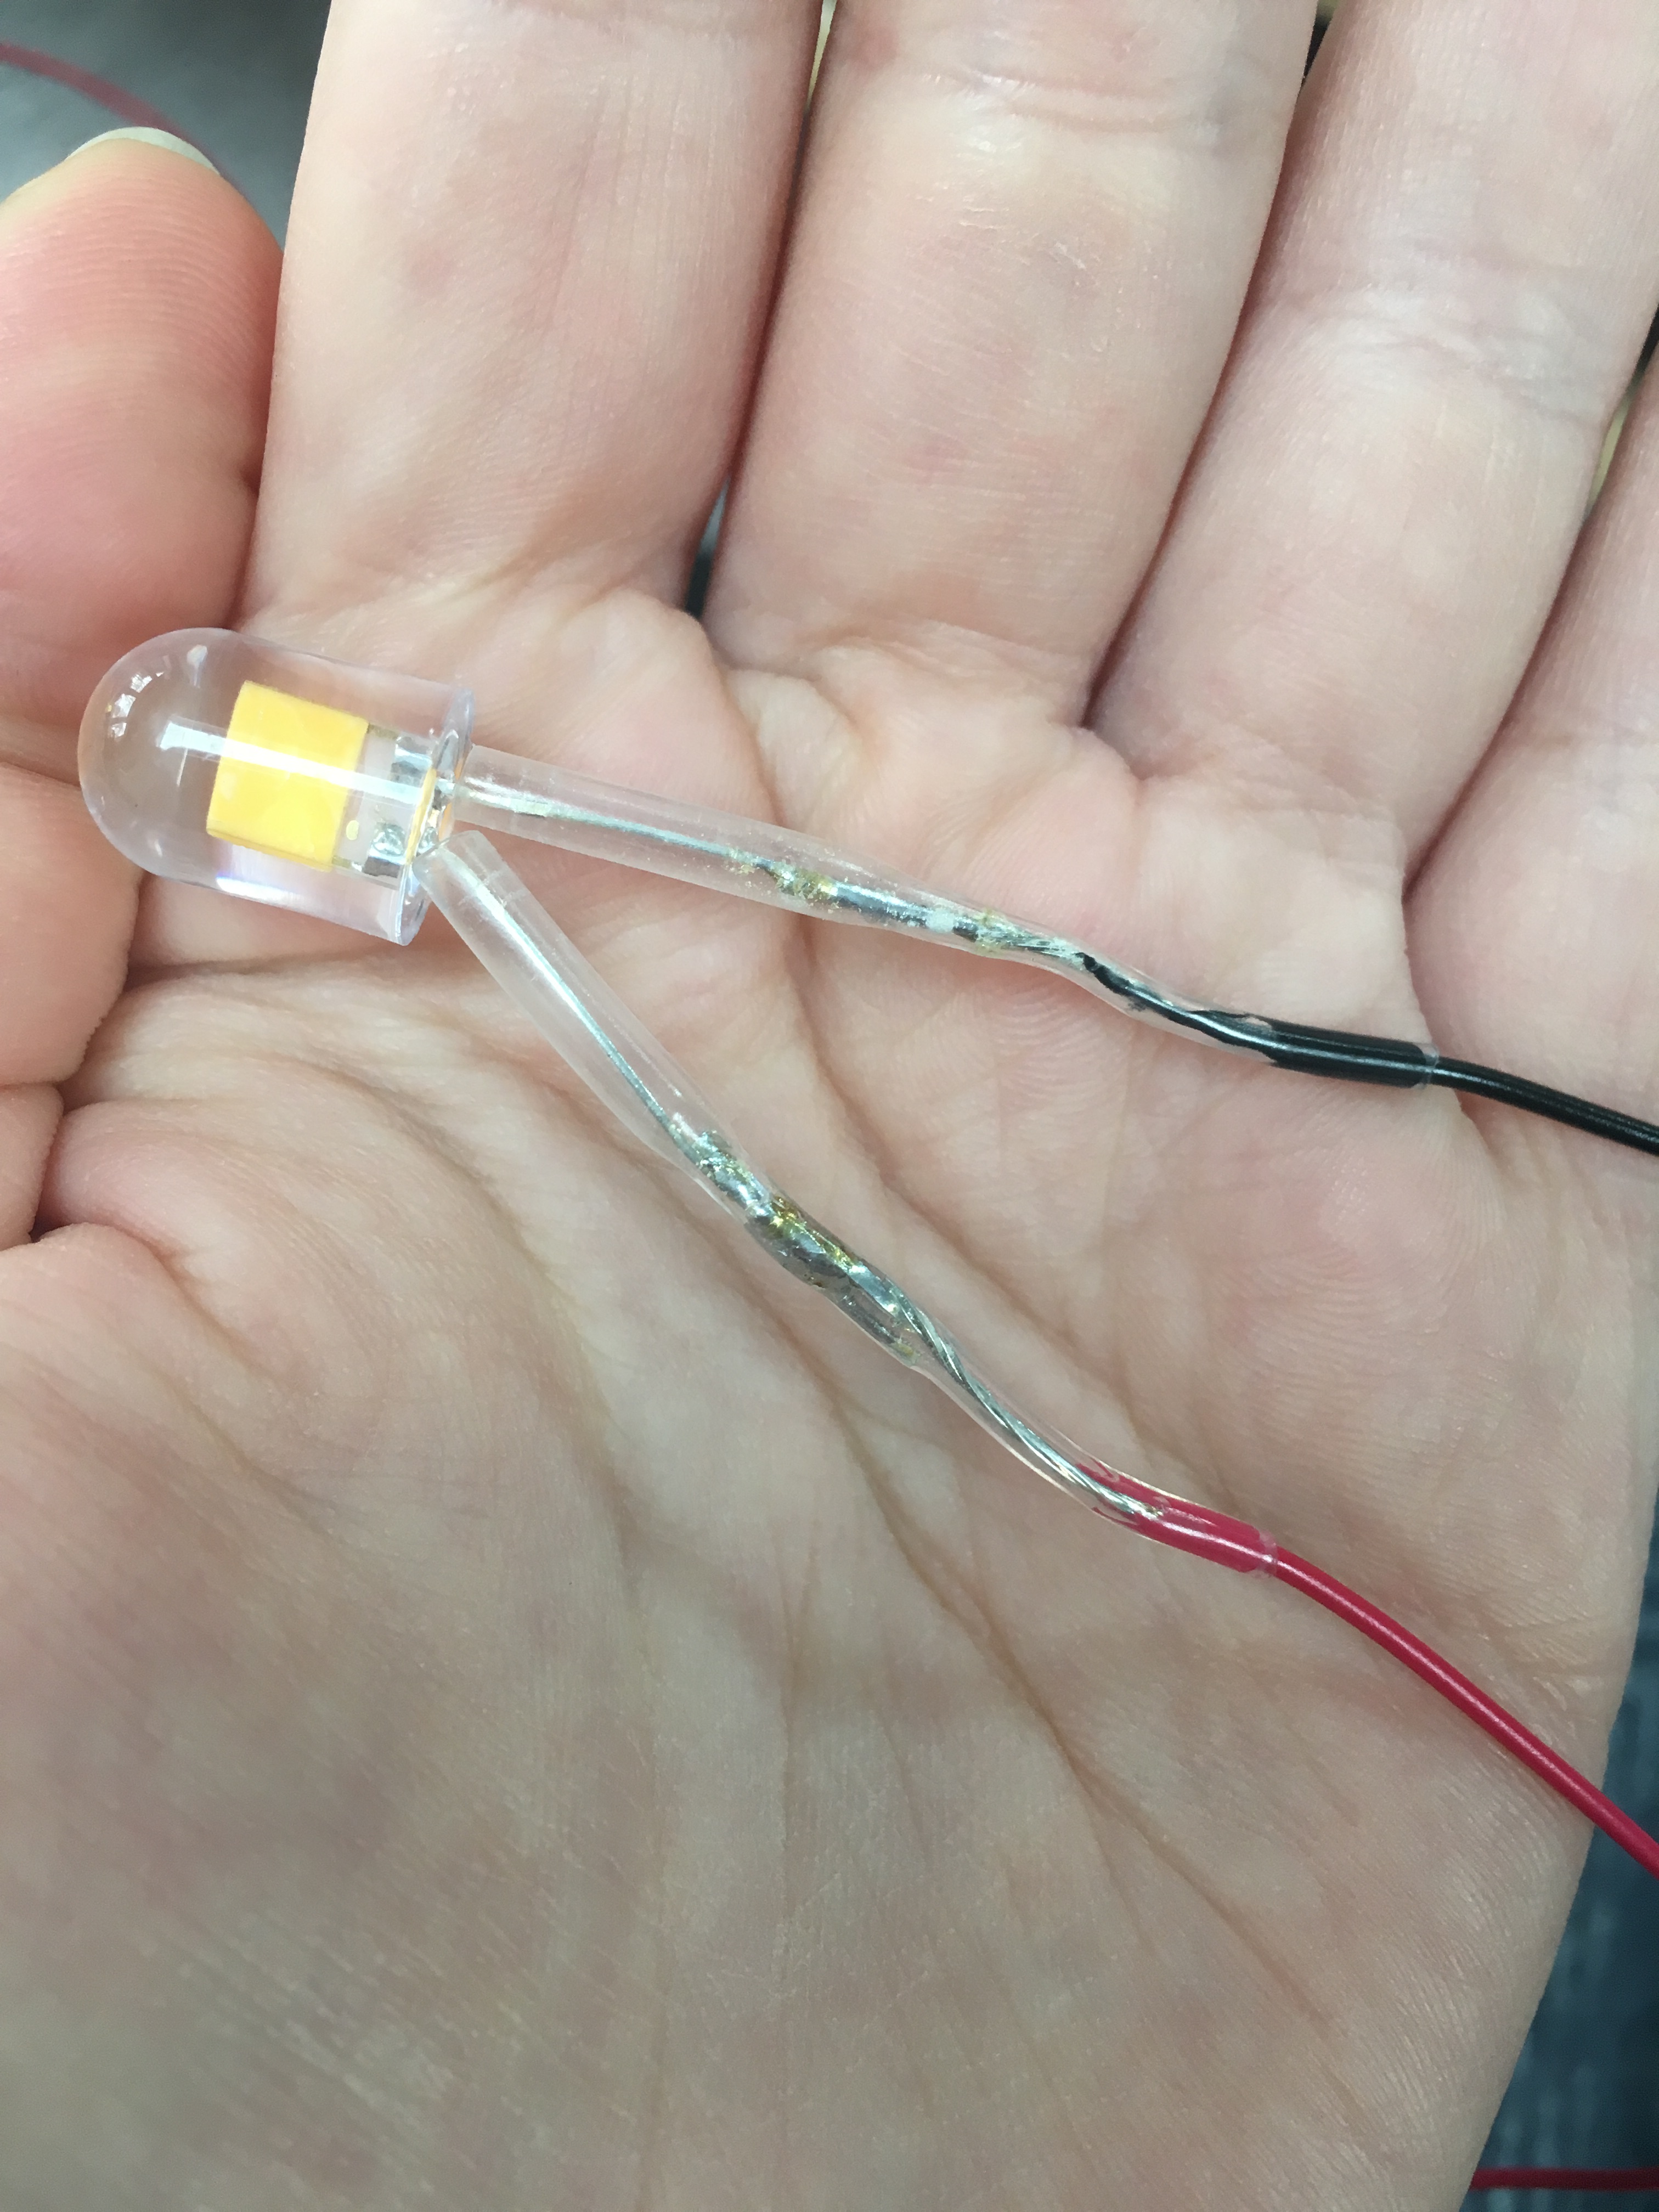 This for me was a really valuable skill to learn and helped me to understand the workings behind the lights we are making and designing.