Our task is to make a collage of images to portray a space using juxtaposing ideas, as a group we where given peaceful and aggressive. These we mind mapped to unpack the meaning of these two very different words we came up with words associated with the meanings and the way the words made us feel.
AGGRESSIVE: dark, reds, textures, noise, large, sharp, angular pointy, messy.
PEACEFUL: calm, quiet, soft, lines, whites, bare, clean
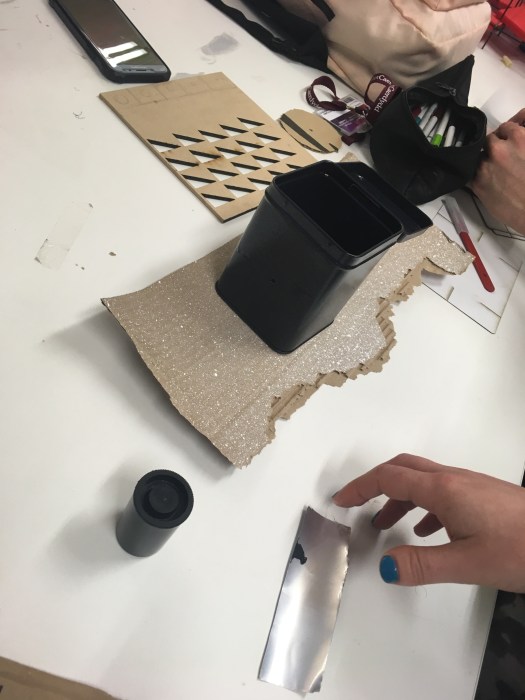
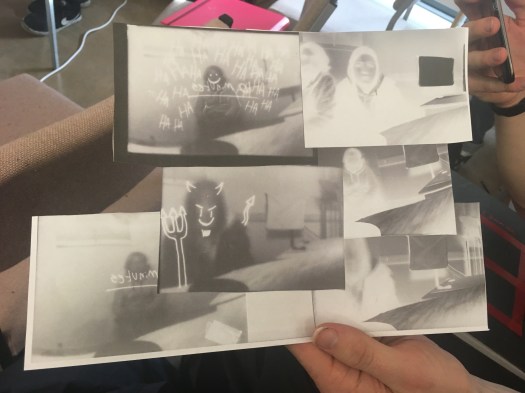
We wanted these collages to portray the feelings associated with the word. We wanted them to feel as if you where looking inside the room because of this we decided to create a 3D composition so when photographed it’s as if you are inside the room. We wanted to use a collection of found images and materials to layer inside the boxes.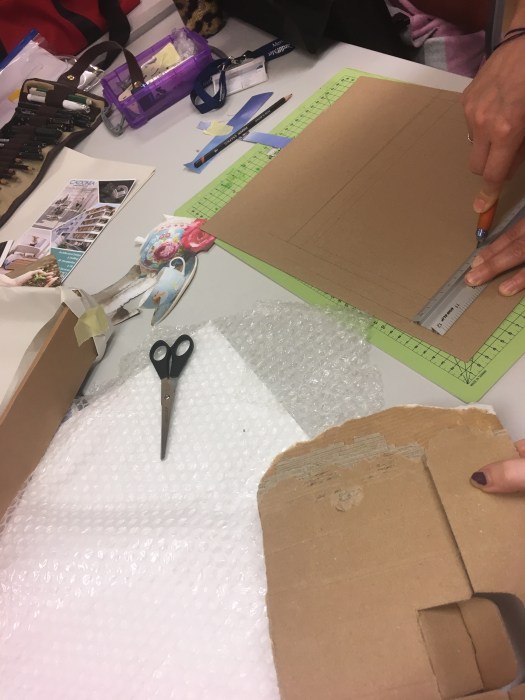 For the aggressive room we found colours associated with aggression where black and red, we went with this and wanted to incorporate red light into the design this is so that the room would become an intense red colour so that if you were in this room you would feel aggression, we did this by creating a canopy that sits over the box that we used with red film and when the light comes through, intense strobes of red enter the room. We also wanted scratchy corrugated textures to be incorporated into the design, this is because we felt scratches where an aggressive texture. This we intensified using Photoshop to manipulate the contrast.
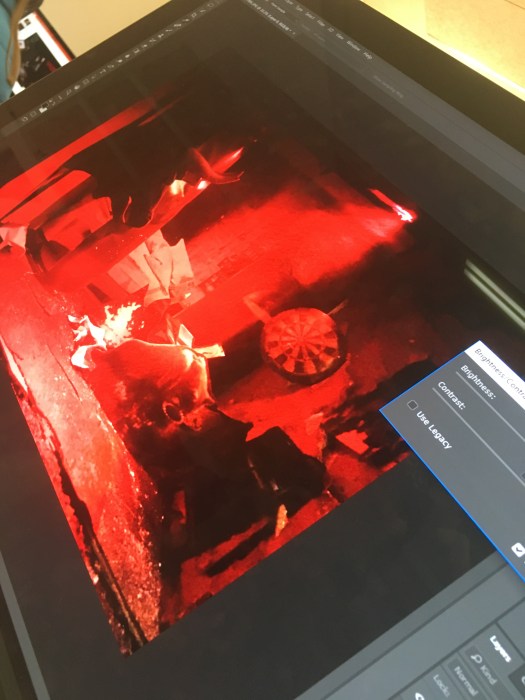
Whereas with the peaceful room we wanted to create a welcoming environment that makes the viewer feel calm and relaxed by using soft furnishings and textures and light colours. with this we then edited the image on Photoshop and softened the edges as well as add some yellow hues and contrast to make the room feel warmer.
Working with interiors is something totally new to me and it was a valuable experience to be able to build and design a composition with the help of people from that discipline. As a maker I was able to place my practical skills in making the rooms and editing using my basic Photoshop skills. I enjoyed this collaboration the most, there was only three of us in the group two makers and one interior, this enabled us to be freer with incorporating ideas and sharing knowledge, something that is harder to achieve in a large group environment.

 Grazia Australia. (2019). This is your last chance to see one of Spring’s most Instagrammed exhibitions – Grazia Australia. [online] Available at: https://grazia.com.au/articles/jamie-north-sarah-cottier-remainder/ [Accessed 25 Feb. 2019].
 We where shown the technique of cutting, fusing, and slumping glass during this workshop, as well as applying paint and decoration using glass paints and a variety of copper materials. this process works by trapping or layering the glass up ready to be fired in the kiln where the glass fuses together.
 before
 after
after were shown the technique involved in the surface decoration process involving slip glazing, using sgraffito- the Italian word for scratching (in this case scratching the design into the surface of the clay). we were given slabs of leather hard clay, this we were told was the best state to use the clay in. we also experimented with using paper resist and inlaying.
 inlaying
 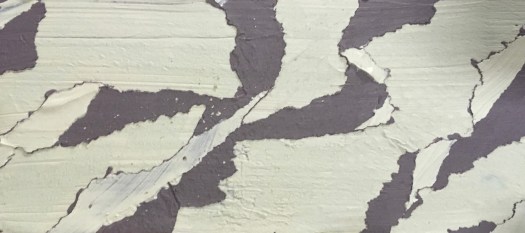 paper resists
  paper resists
 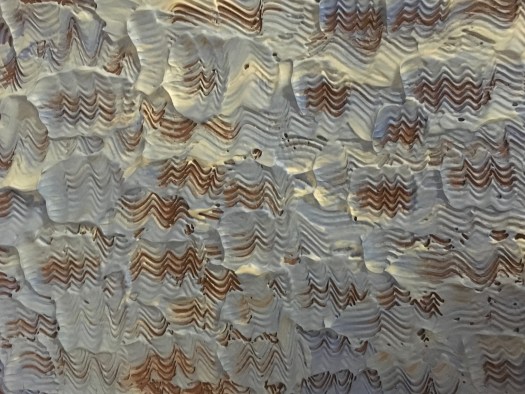 sgriffito


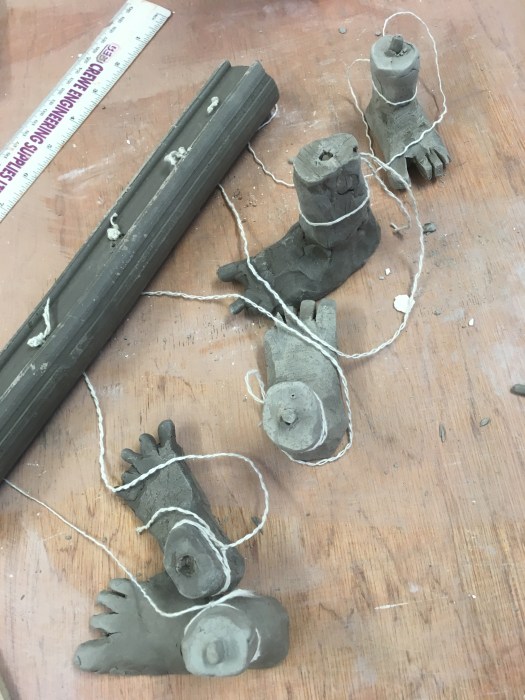
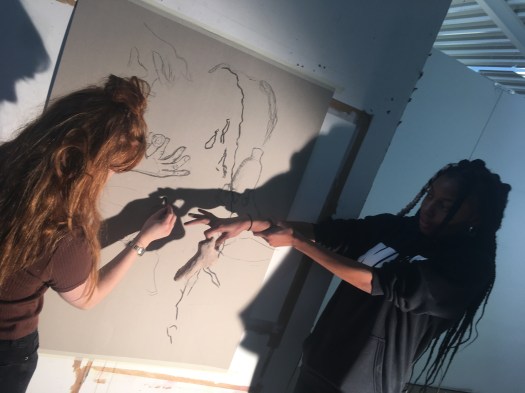 We where told our next task was to translate these drawings and sketches as a group into sculptural forms using the slab building method.